**Some items, images, and logos may refer to OSU, or OSU Stillwater. The process is the same for Connors.**
1. Activate your C-Key account click the link below:
C-Key Activation.
2. Enter the first two letters of your last name.
3. Enter the last five digits of your Social Security number. If you are an international student, you will need to enter the last five digits of the number that you received from the Eligible To Activate e-mail sent to your alternate e-mail address.
4. Enter your date of birth (mm/dd/yyyy).
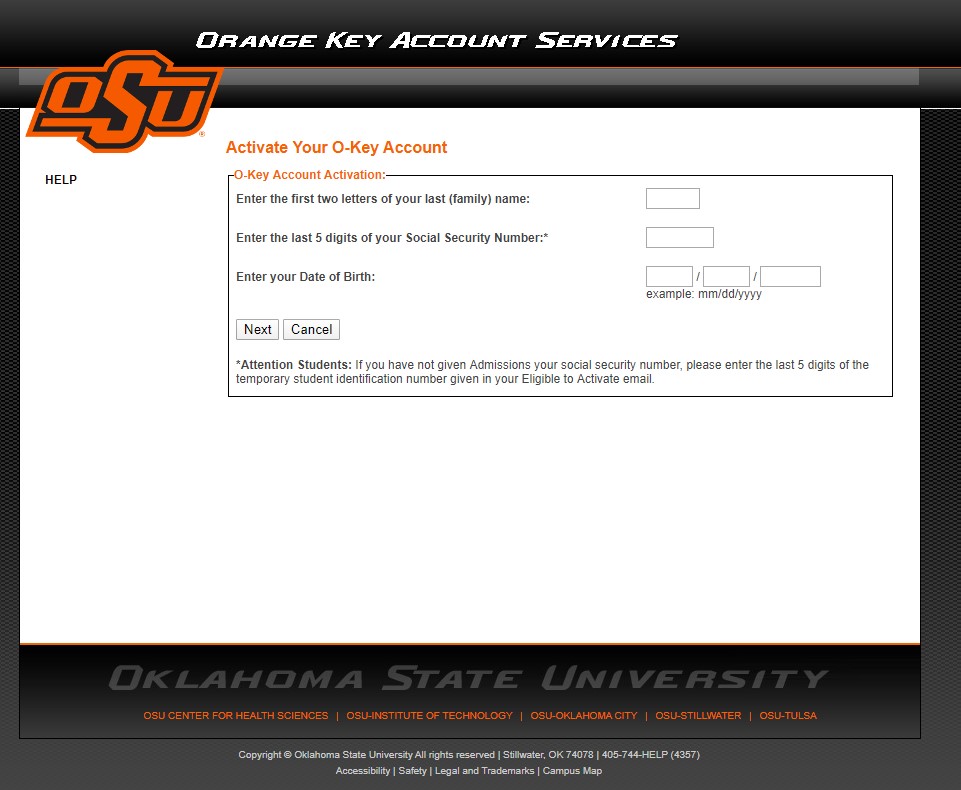
5. Click Next to continue.
6. When prompted, enter your PIN number.
7. f you are a student, the PIN should have been e-mailed to you from the Registrar’s office.
8. If you are a faculty or staff member, the PIN should have been e-mailed to you from the Human Resources department.
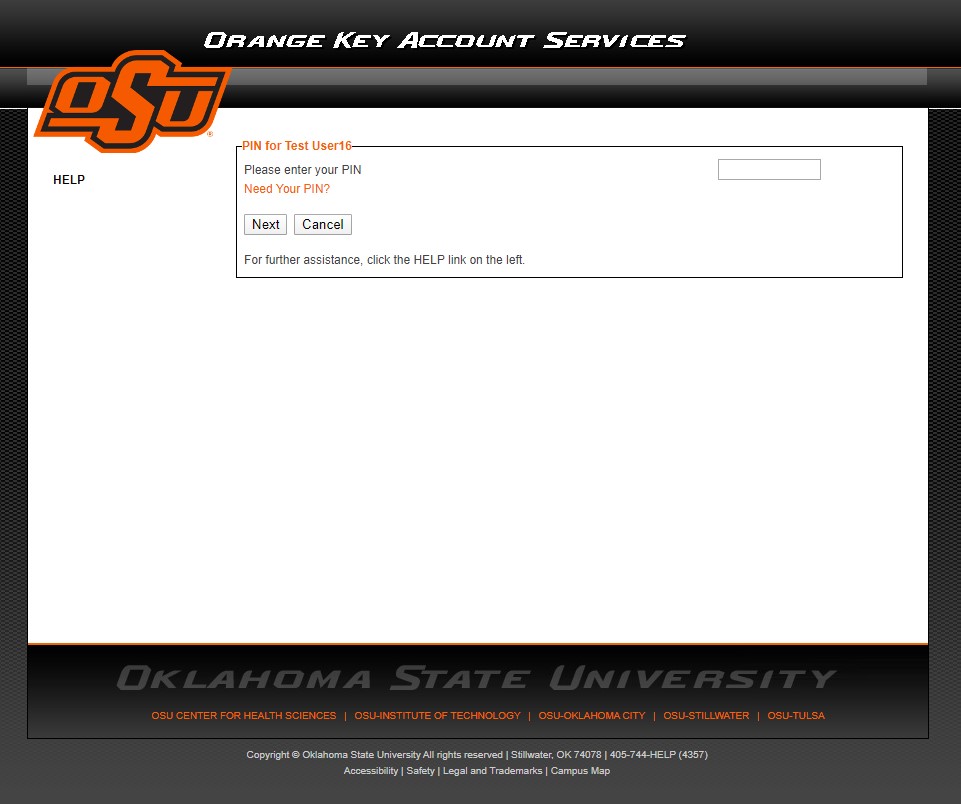
9. Click Next.
10. You should then be prompted with a Welcome page.
11. Review the text and then click Next.

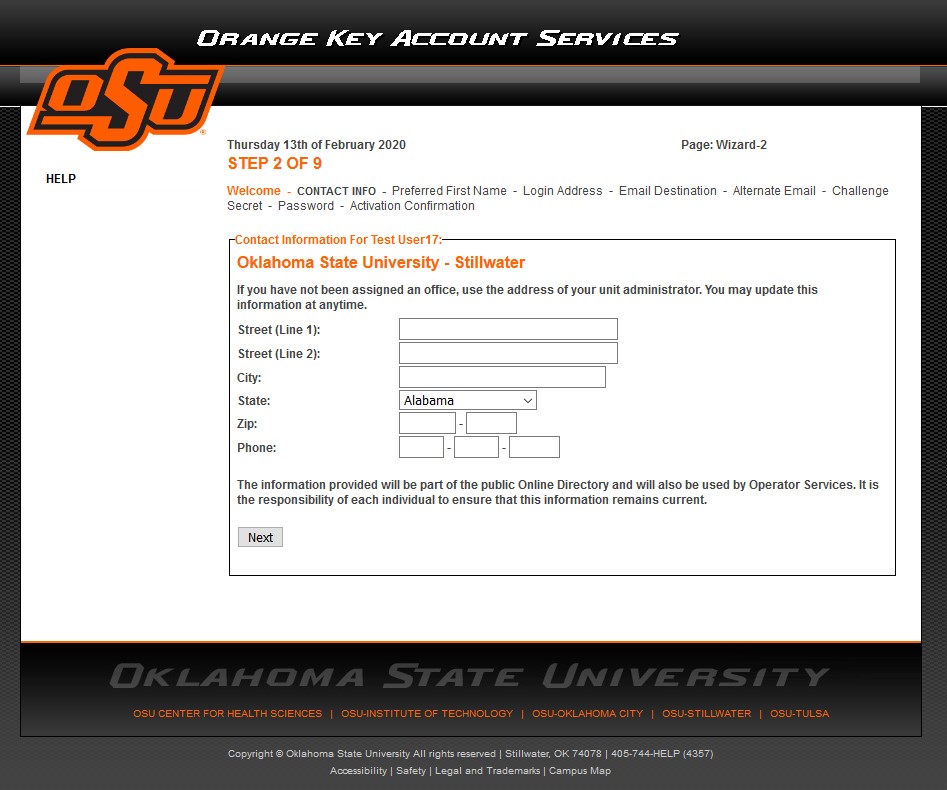
12. After the Welcome page, you should now be identified in the IDMS system and will begin configuring the account. Follow the directions below for Steps 2-9 of the configuration process.
13. Students: This information should be automatically populated from the information that you provided the Registrar’s office (also appears in Banner). You can choose whether this information is published on the Online Directory for community\public access. If the information is incorrect, click Next and change the information in Banner after C-Key activation is complete. You can then enter the contact information for campus emergencies if you desire. If you do not wish to receive campus emergency information, check the box next to I Have No Emergency Phone Number.
14. Employees: Enter your office contact information. This information will be available on the Online Directory for community\public access. If you do not wish to publish your direct office location, enter the main office information of your department\group. You can then enter the contact information for campus emergencies if you desire. If you do not wish to receive campus emergency information, check the box next to I Have No Emergency Phone Number.
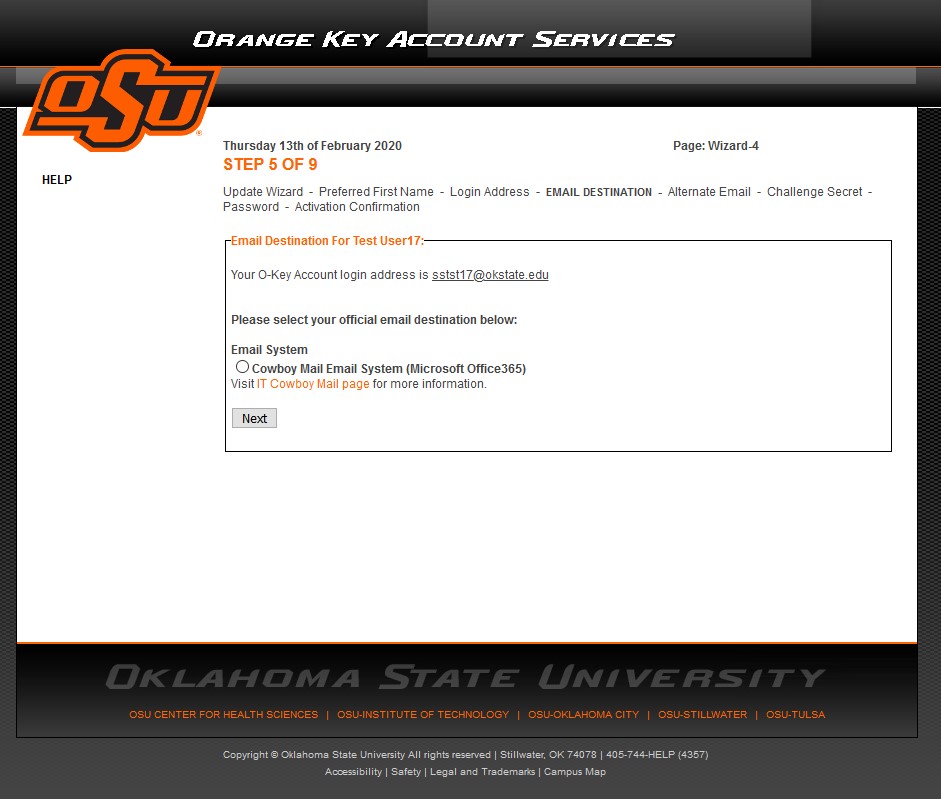
**(You must enable Cowboy Mail as your official email destination to use Canvas, Office 365, and any other services connected to your SSO credentials. If you want to forward to an alternate email, you can at a later step.)**
15. If you are a Student, you will select the Cowboy Mail (Office 365) E-mail System. Cowboy Mail is based off of Microsoft Live (Exchange).
16. If you are a Faculty or Staff member, you will select the Cowboy Mail (Office 365) E-mail System. Cowboy Mail is based off of Microsoft Live (Exchenge).
**(You must enable Cowboy Mail as your official email destination to use Canvas, Office 365, and any other services connected to your SSO credentials. If you want to forward to an alternate email, you can at a later step.)**
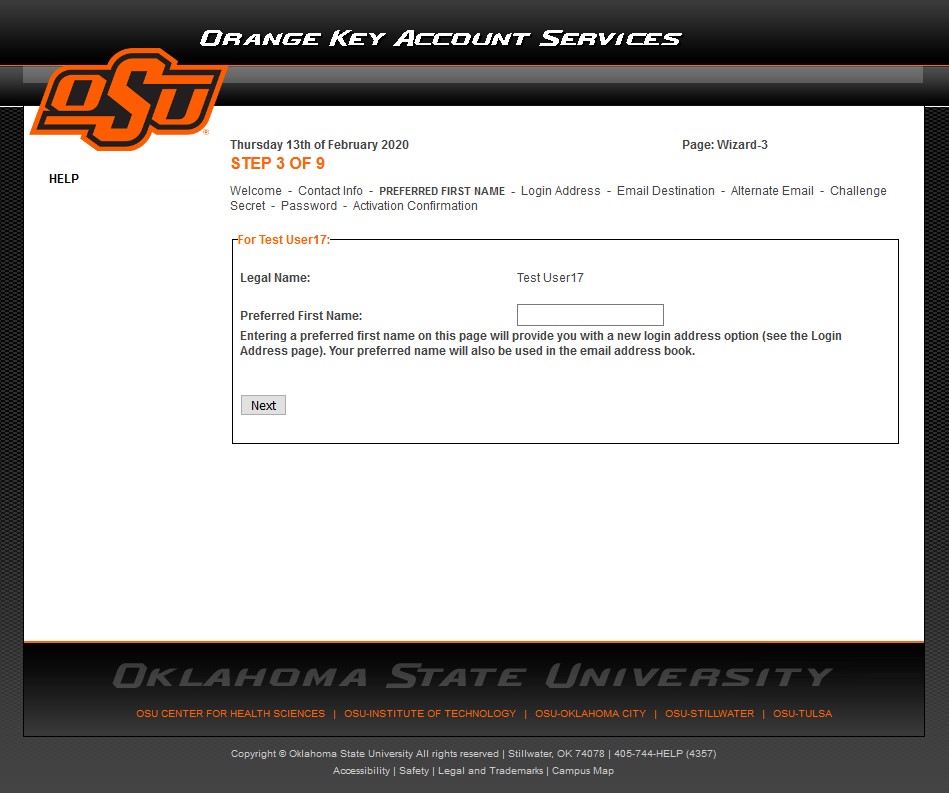
17. Choose Your Preferred First Name: You can choose to enter a Preferred First Name if you go by a different name than what is listed on your SSN card or registered with the Office of International Students and Scholars. The Preferred First Name will show as your name in places such as the address list, Online Classroom (Canvas), Online Directory, etc.
18. Login Address: The address selected will be used as your e-mail address as well as your login address to access services (such as Active Directory login, wireless network access, IT Software Distribution Center, Virtual Labs\SAS, etc). Select the radio button option from the available addresses listed, then click Next.
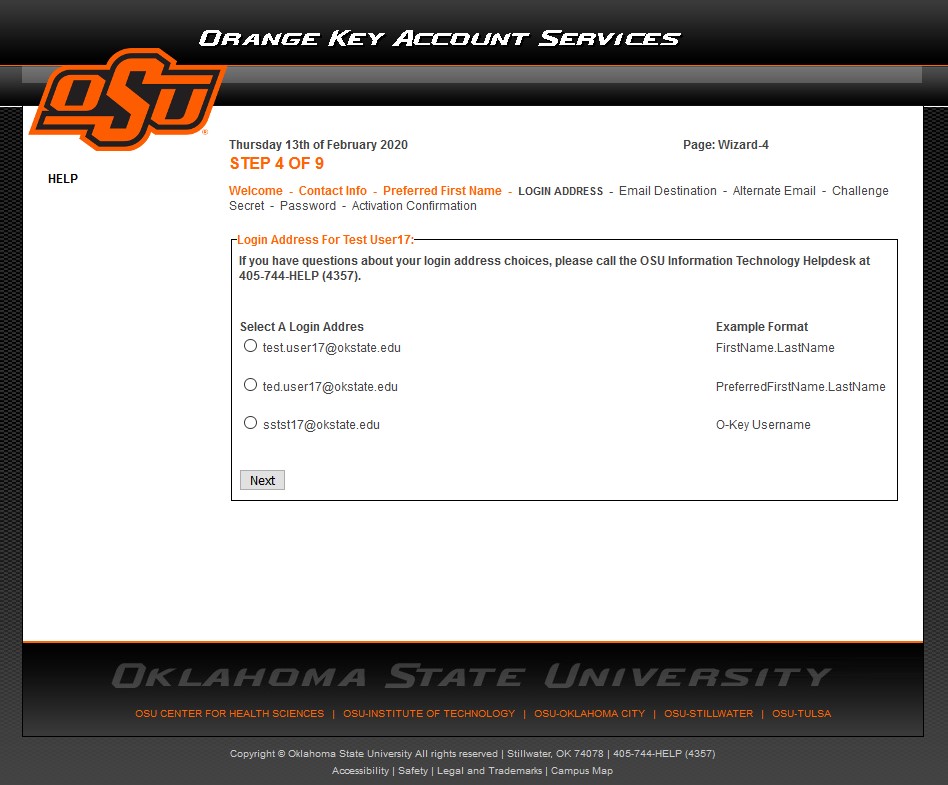
19. Click Next to continue.
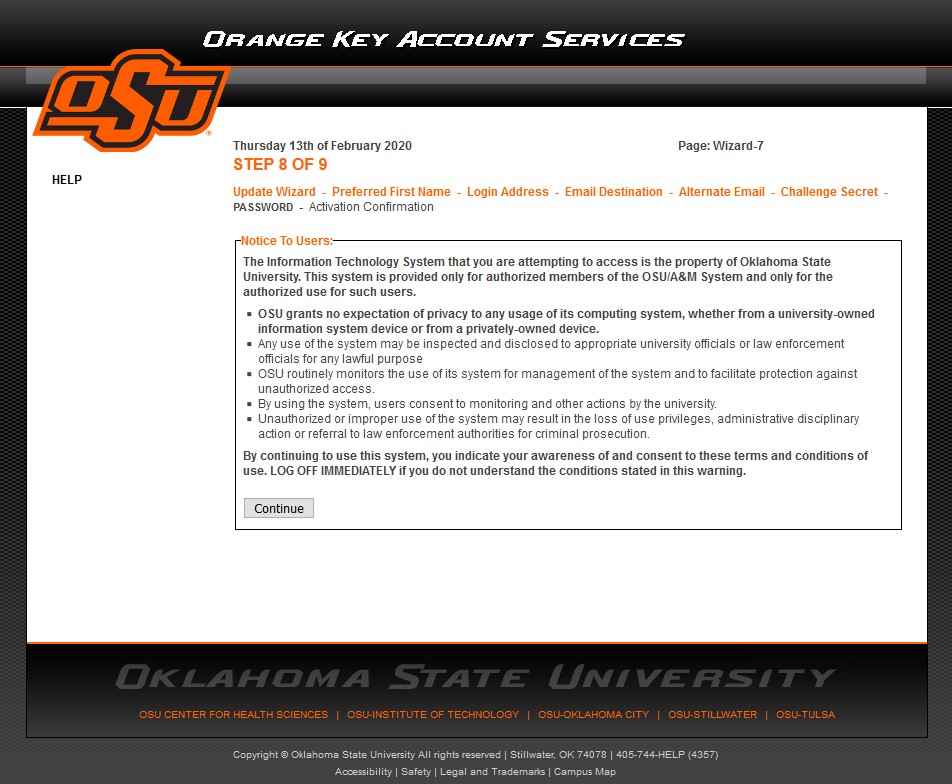
20. A Notice To Users page will appear with information related to the e-mail account type you selected. Once you are finished reviewing the text, click the Continue button.
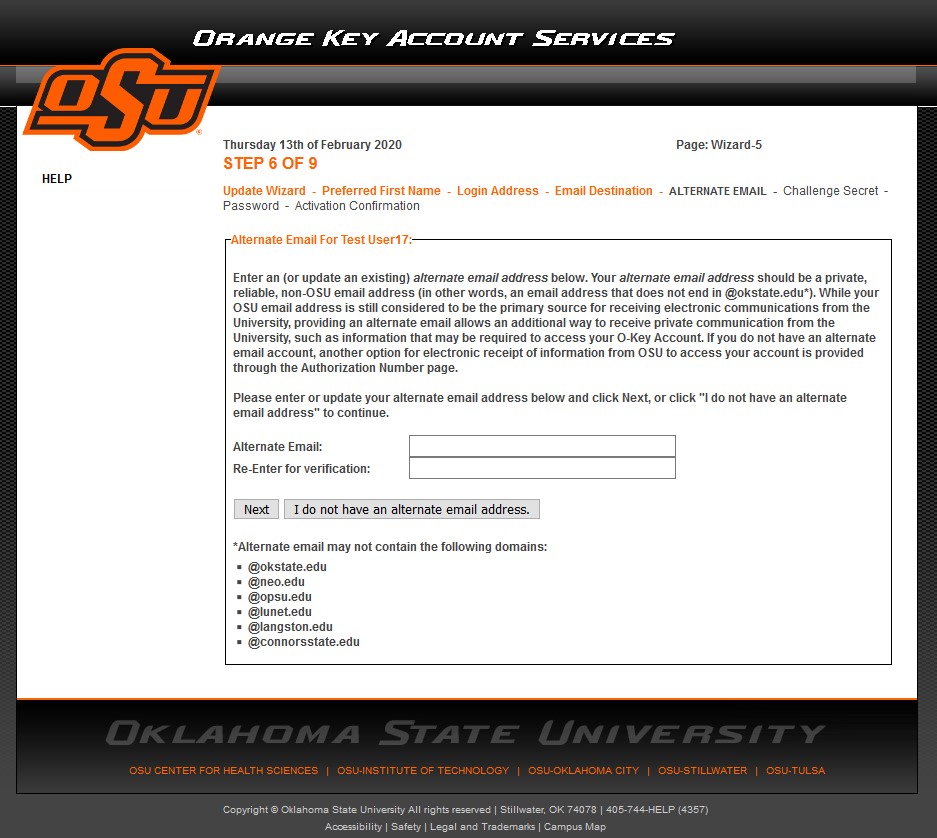
21. Alternate E-Mail: Enter a non OSU A&M e-mail address in the Alternate Email text boxes. The Alternate Email will be used should you forget your password and need to receive a Token to reset the password online through the IDMS system. If you have entered an alternate e-mail address, click next. If you do not wish to enter an alternate e-mail, select the I Do Not Have An Alernate Email button.
22. Challenge Secret\Response: The Phone Password is used to confirm your identity over the phone should you need to contact your institutions IT Helpdesk (or other offices on campus) for assistance with sensitive data (such as re-activating your account for a password reset). The Phone Password can be anything you wish, however, ensure the Phone Password is something that only you would know and have memorized “exactly”. IT staff will not accept Phone Password’s that are “similar” to that typed in the Phone Password field.
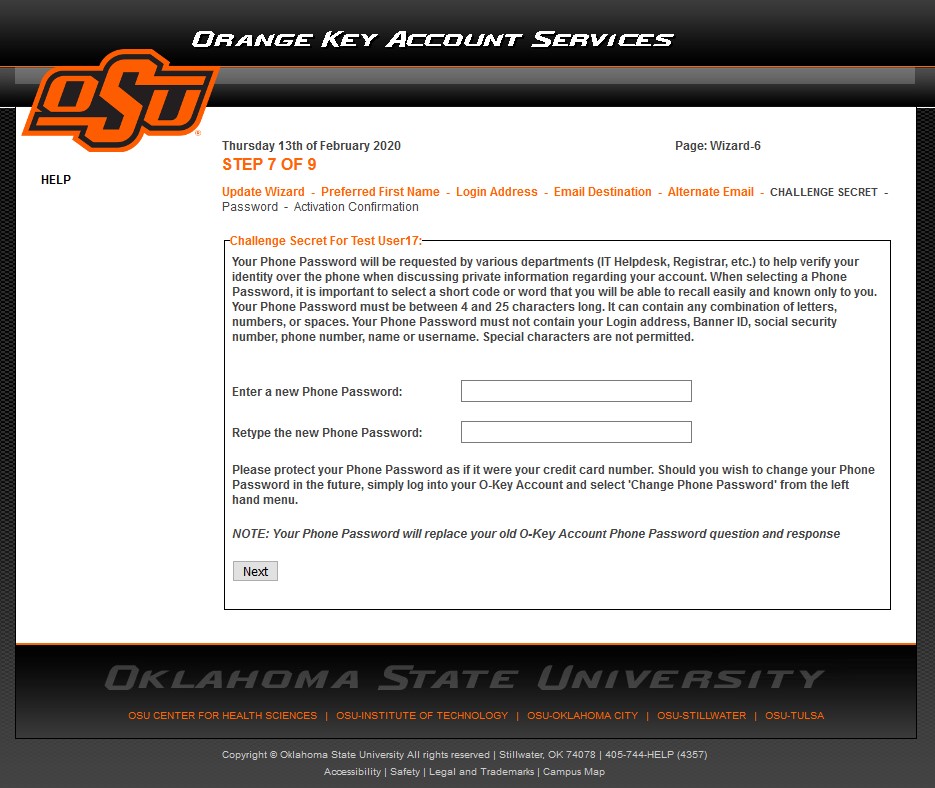
23. Click Next to Continue.
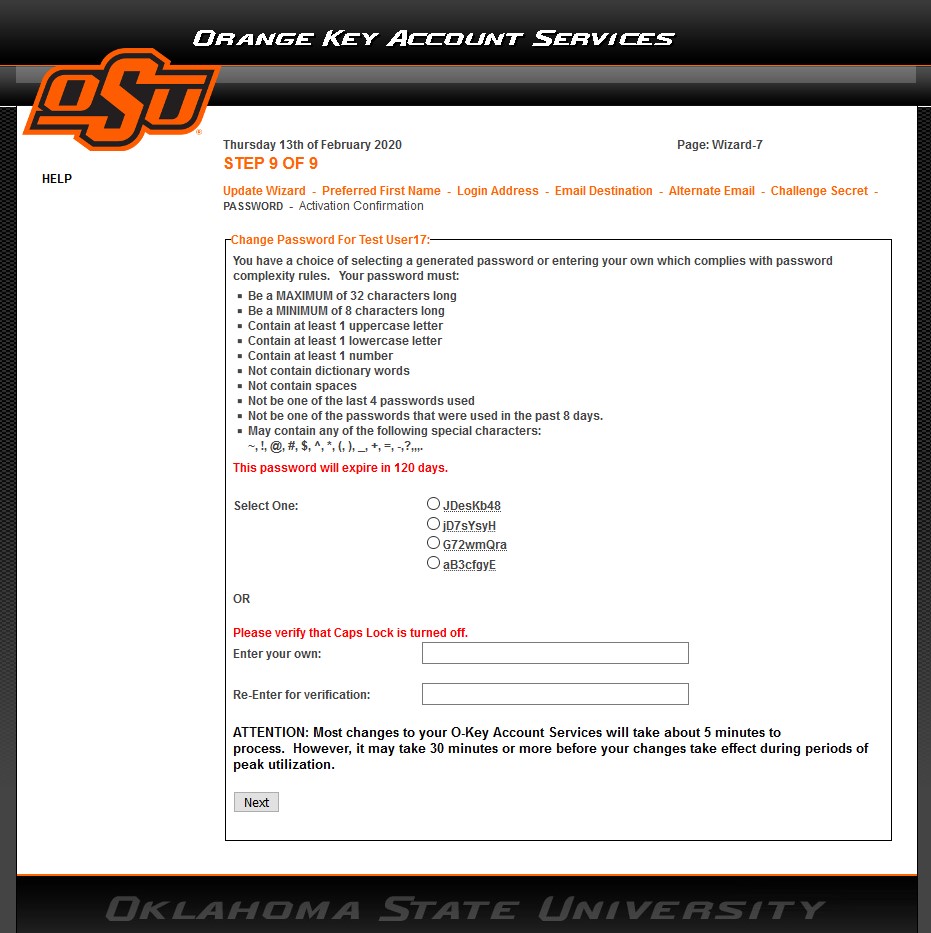
24. Change Password: You will see a Notice to Users page. At certain times throughout the year, students may see the Student Conduct Page. Read the page and select Agree. On the next page, you will see the Change Password page. You can either select one of the four random generated passwords from the radio buttons, or enter your own password. If you enter your own password, you must follow the directions at the top of the Change Password section. Click Next to continue.
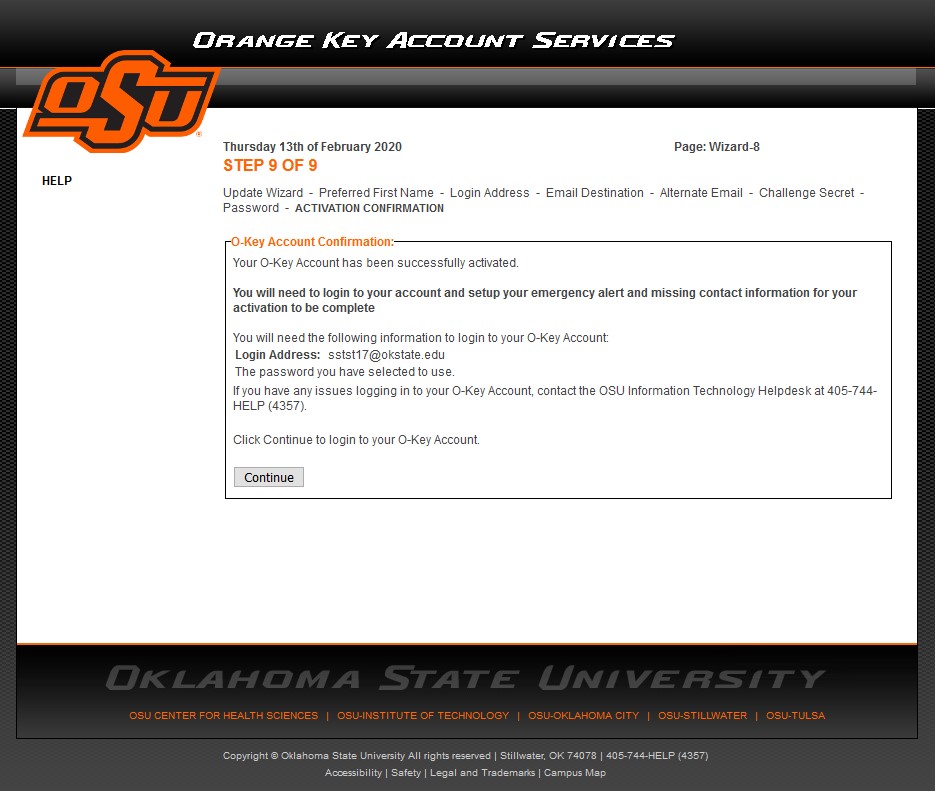
25. Activation Confirmation: You should receive a notification that your IDMS Account has been successfully activated, but you will need to login to your IDMS Account and setup your emergency alert/missing contact information for your activation to be complete. Click the Continue button.
26. There are other features that you can setup in your Personal Profile page from the links listed on the left side of the page. Should you need to configure O-Key settings in the future, visit your institutions IDMS Account Services home page and log in with the E-Mail\Log in address and password that you selected during activation.
After activating the IDMS account there are some other things that can be done
to complete setting the account up.